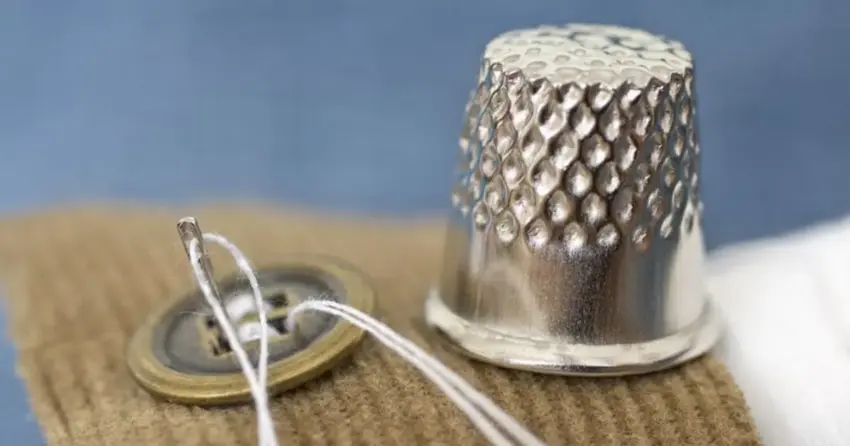
Rummage through any vintage sewing basket or estate sale biscuit tin, and you are bound to uncover at least one small, dimpled metal cap. It feels cold, slightly weighted, and remarkably sturdy for something no larger than an acorn. If you have only ever hemmed curtains with fusible tape or relied on a quick machine stitch, that little dome might look more like a dollhouse helmet than a practical everyday tool.
That humble object is a traditional sewing thimble, and for generations, it was just as common in a kitchen drawer as a paring knife. It did not sit around looking quaint on a knick-knack shelf. It worked hard, shielding fingers from the painful bite of a needle eye and turning stubborn mending jobs into calm, rhythmic evening tasks.
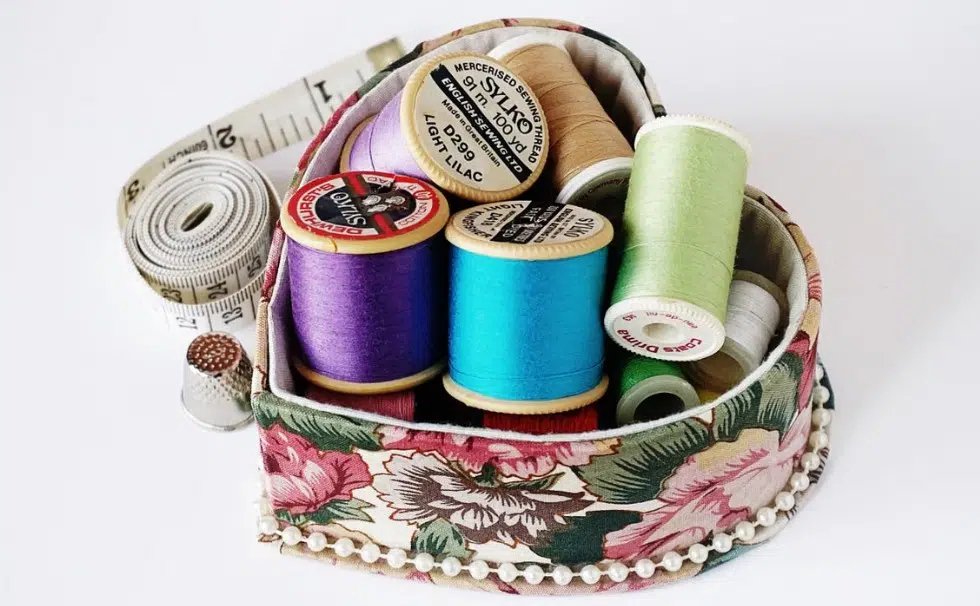
A classic sewing basket filled with colorful thread spools, measuring tape, and the quiet essential: a metal thimble.
The Mystery in Grandma’s Sewing Tin
Generations past kept garments running for years with needle, thread, and patient hands. Wool coats were turned, collar bands were reinforced, and heavy denim work aprons were mended around the kitchen table. None of that thick cloth yields easily to a bare hand. Pushing a fine steel rod through three layers of folded canvas will quickly leave your skin bruised, tender, and raw.
The thimble was the unsung workhorse of household upkeep. It stepped in whenever cloth fought back, acting as a tiny shield between soft flesh and sharp metal. While sewing machines took over long seams in the twentieth century, hand mending never truly vanished. Rediscovering how this small piece of armor works makes any hand project—from sewing a button on winter tweed to mending a split hem—noticeably faster and far more comfortable.
The Anatomy of a Dimple: Why Needles Stop Skidding
At first glance, the pattern across the cap looks purely decorative, like miniature honeycomb or stamped lattice work. Those tiny pits are called dimples, and they are an ingenious bit of mechanical design. When you press the blunt end of a needle against flat, polished metal, the needle skids off in an instant, often driving the eye right into your finger.
The dimples catch the rounded end of the needle and hold it steadfast. All the force from your hand travels directly down the shaft of the needle and through the cloth, rather than deflecting sideways into your knuckle. It gives you absolute control over each stitch, even when working through stubborn canvas or heavy quilt batting.
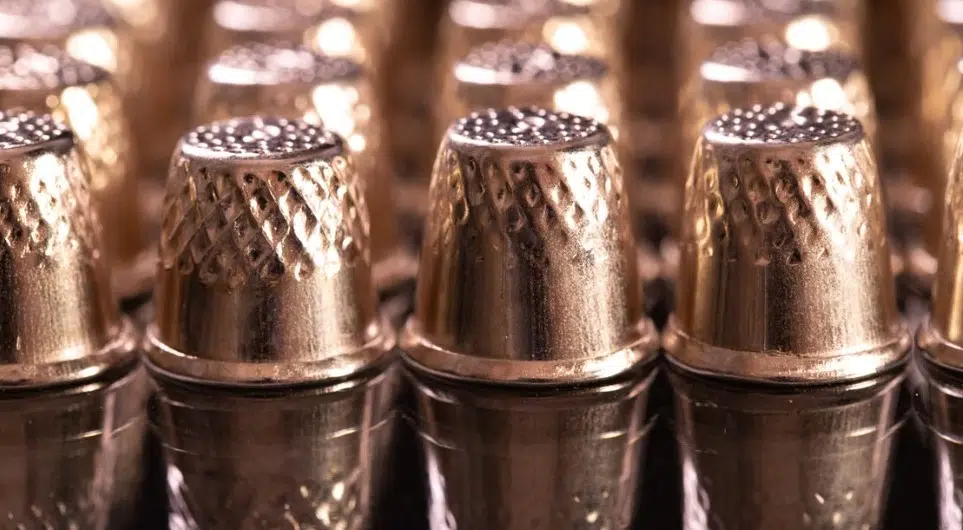
The textured indentations on a thimble act as tiny anchors, locking the eye of the needle into place under pressure.
A bare finger pushes with cautious hesitation; an armored finger pushes with clean, steady momentum. That tiny pocket of trapped energy is what makes hand stitching smooth.
How to Use a Sewing Thimble Without Dropping Your Stitches
Learning how to use a sewing thimble takes about twenty minutes of strange clumsiness before it clicks into muscle memory. Most beginners try to wear it on their index finger because that feels intuitive. Yet your index finger needs maximum tactile sensitivity to guide the cloth and feel the tip of the needle emerging beneath the seam.
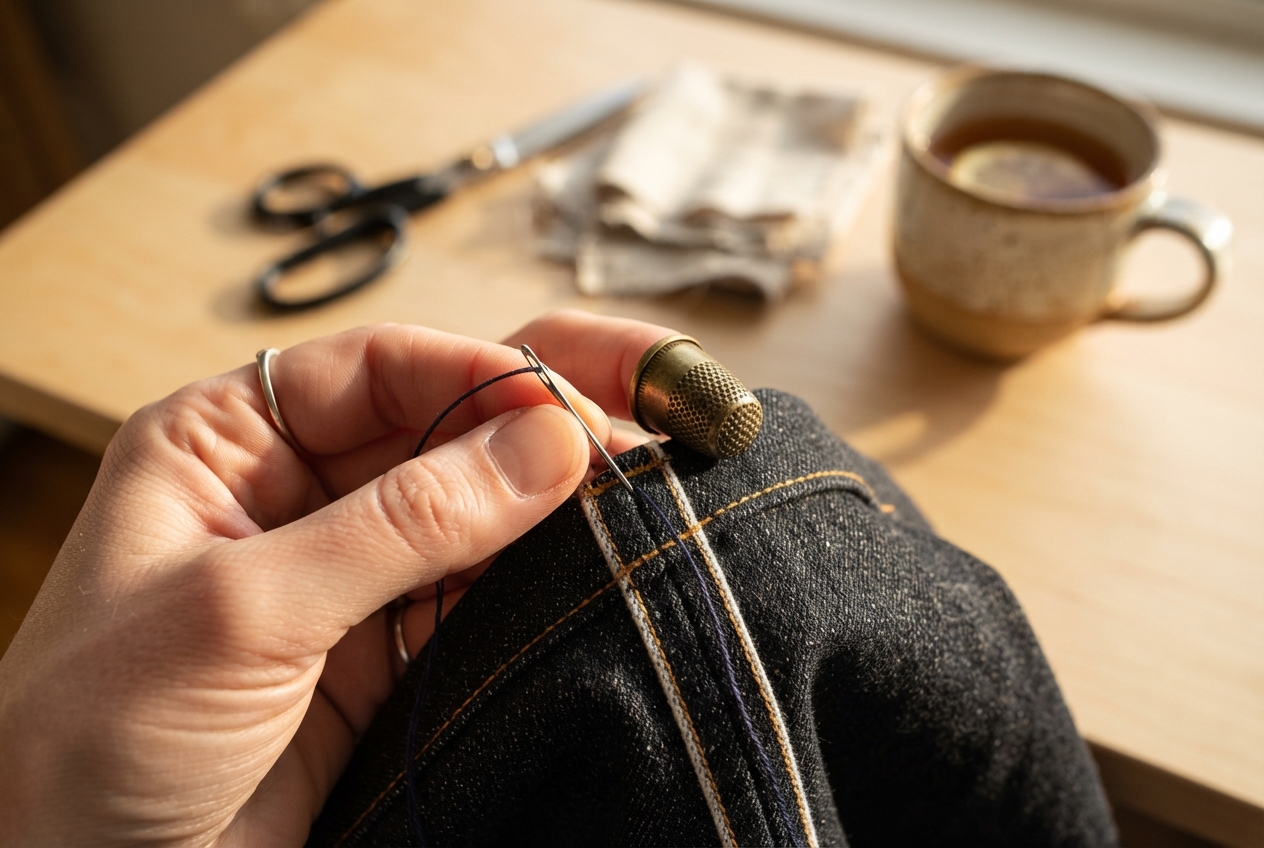
Position the thimble on your pushing finger so the dimples take the pressure instead of your fingertip.
Finding Your Natural Pushing Finger
For most stitchers, the thimble belongs squarely on the middle finger of your dominant hand. When you pinch a needle between your thumb and index finger to aim the point, your middle finger naturally curls right behind the eye of the needle. That middle digit brings the strongest, most direct pushing leverage from your hand.
Try holding a threaded needle right now. Grip the shaft lightly with your thumb and forefinger, and rest the end against the pad or side of your middle finger. That contact point is where your thimble needs to sit. If you happen to be someone who naturally pushes off your ring finger or thumb, wear it there instead. Let your hand mechanics dictate the position.
The Motion: Side Push vs. Tip Push
There are two distinct ways to drive the needle home, depending on what feels most natural to your joints:
- The Tip Push: You bend your middle finger and push straight forward using the domed top of the thimble. This technique works well for straight running stitches through lightweight cotton, linen, or silk.
- The Side Push (Tailor’s Method): You push using the side ridges of the thimble rather than the top dome. Professional tailors favor this because it keeps the wrist straight and prevents joint strain during long hours of work on heavy suiting.
Thimble Materials Decoded: Metal, Leather, and Silicone
Not every finger welcomes cold brass. Depending on the size of your hands, fabric weight, and how long you plan to stitch, different materials offer vastly different handling characteristics.
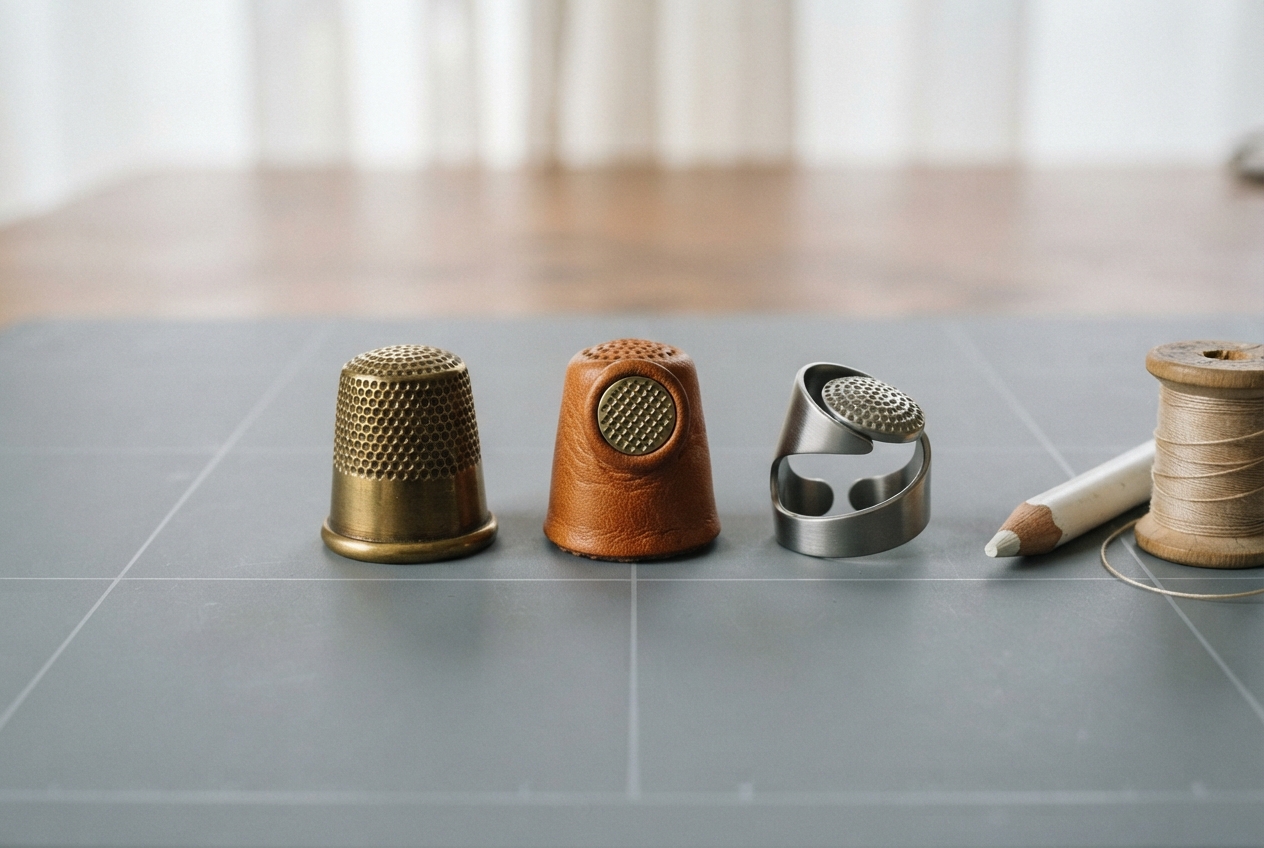
From flexible leather coin guards to open-top tailor rings, thimble styles vary to match fabric weight and personal grip.
Traditional Metal Domes
Classic silver, brass, and nickel-plated steel thimbles remain the standard for a reason. They last for lifetimes, handle dense materials without puncturing, and produce a distinctive metallic click that experienced sewists find deeply comforting. They provide unmatched puncture defense against heavy upholstery fabrics and raw denim.
Leather Coin Thimbles
If rigid metal makes you feel clumsy, supple leather is a revelation. These thimbles feature a soft deerskin or cowhide sleeve with a recessed metal disk sewn into the pad. The leather absorbs body heat and gently molds to your finger shape within a few days of use, giving you needle control without stiffness.
Tailor’s Rings and Open-Top Shields
For anyone with longer fingernails, standard closed domes are nearly impossible to wear comfortably. Open-top tailor thimbles look like thick, dimpled bands with the crown cut off. Your fingernail breathes freely out the top while the sides of your finger remain shielded for heavy side-push stitching.
Getting the Fit Right: Sizing, Swelling, and Quick Fixes
A poorly fitted thimble will ruin your craft night faster than tangled thread. If it feels too tight, your fingertip will throb with each pulse. If it wobbles around too loosely, you will constantly drop it onto the floor midway through a seam.
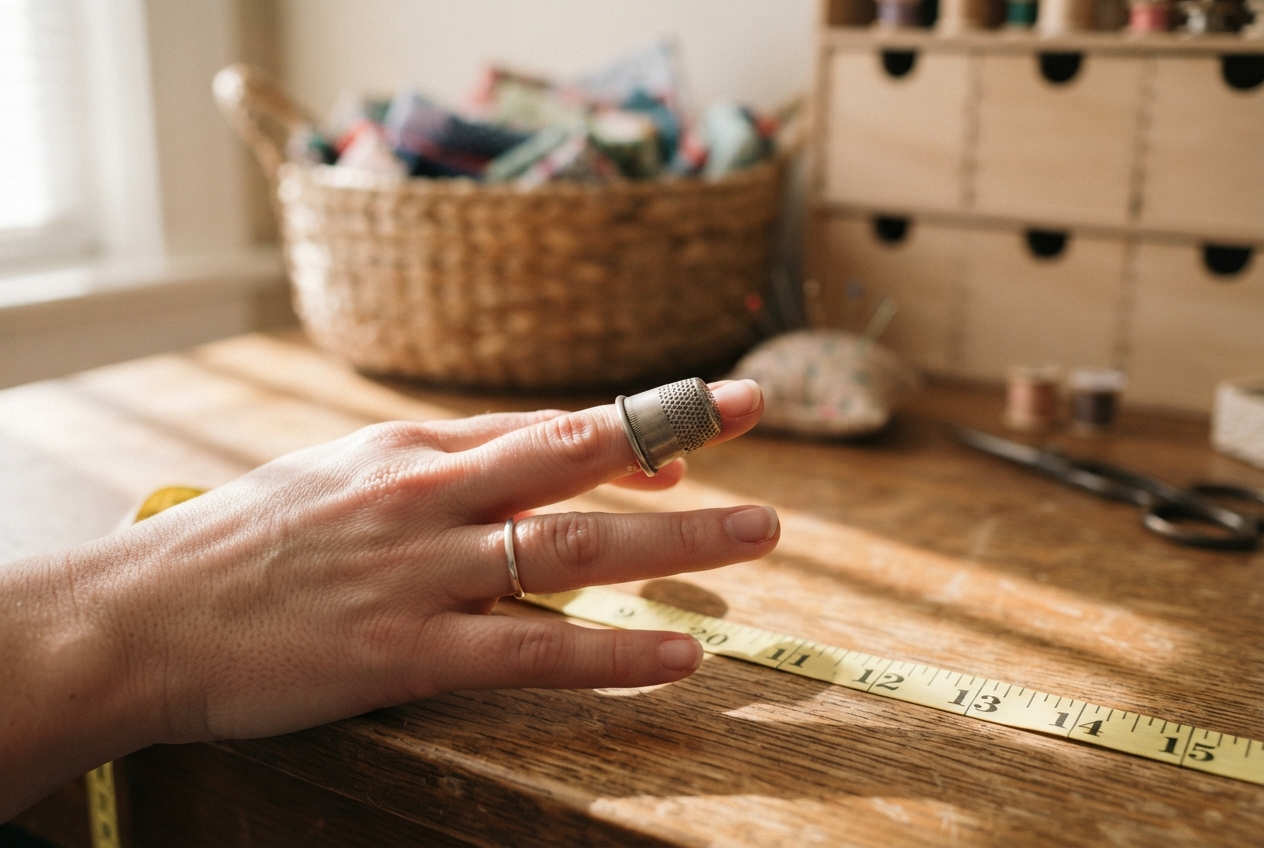
A well-fitted thimble stays securely in place when your hand is inverted, without pinching or cutting off circulation.
To check the fit, slide the thimble onto your chosen finger. Lower your hand toward the floor and shake it gently. The thimble should stay firmly in place without sliding down past your first knuckle. Remember that hands swell slightly in warm rooms or after an hour of focused movement, so avoid choosing one that squeezes too snugly when you first sit down.
If you inherited an antique thimble that is slightly too wide, do not toss it aside. You can easily adjust the interior. Place a small snippet of adhesive moleskin or felt inside the crown, or coat the inner rim with a touch of warm beeswax. That slight layer of friction creates a snug, custom grip that keeps the metal anchored without pinching.
Why This Forgotten Tool Deserves a Spot in Your Kit
Taking up hand stitching connects us to a slower, more deliberate way of caring for our belongings. Replacing a coat button or repairing a beloved linen napkin with your own hands brings a satisfaction that quick consumer replacements simply cannot match. A reliable sewing thimble turns what could be a frustrating struggle against tough fabric into an easy, meditative rhythm that leaves your fingertips completely unbruised.