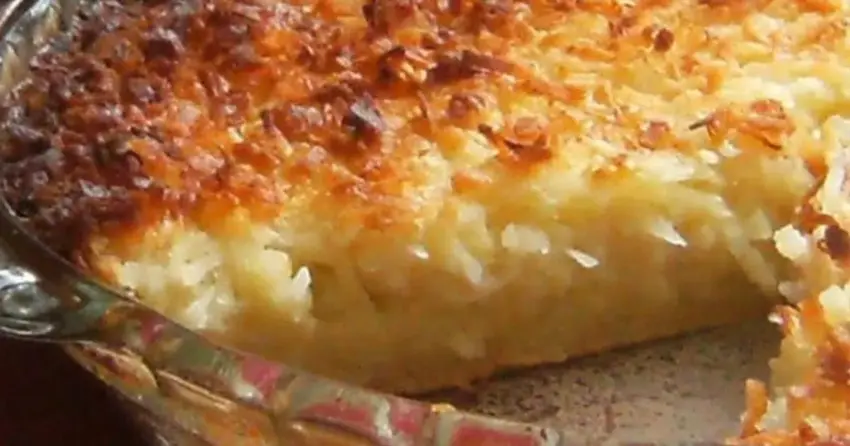
There is something deeply comforting about a recipe that defies kitchen logic. You whisk together a pourable, milky batter that looks far too runny to become anything respectable, slide it into a hot oven, and walk away. Forty minutes later, you pull out a golden masterpiece with a distinct pastry bottom, a creamy custard center, and a crackly, toasted coconut crust on top. That is the old-school wonder of this self-crusting coconut custard pie recipe.
My grandmother kept a hand-scribbled card for this labeled simply “Impossible Pie” tucked between her yellowed church cookbooks. It was her secret weapon when surprise company pulled into the gravel driveway on Sunday afternoons. She would grab four farm eggs, a splash of vanilla, pantry staples, and let the blender do the heavy lifting while the kettle boiled.
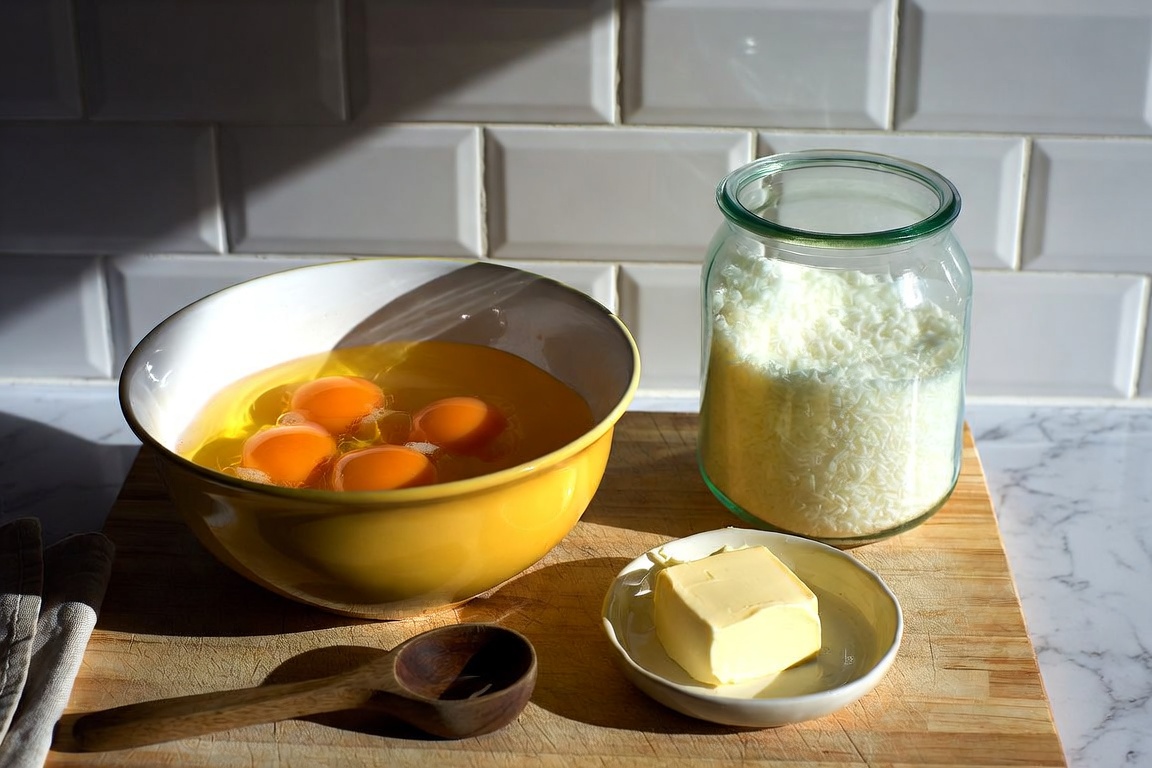
Simple pantry staples come together in minutes to create a silky, three-layered vintage custard pie.
Why You Will Love This Old-Fashioned Coconut Custard Pie Recipe
Most homemade pies demand patience: chilling pastry dough, cutting cold butter into flour until your thumbs ache, blind-baking with ceramic pie weights, and praying the crust doesn’t shrink down the sides of the pan. This vintage gem bypasses every single one of those headaches. You do not even need to roll out dough.
The batter comes together in under two minutes inside a blender jar or with a sturdy wire whisk. It uses budget-friendly pantry staples you likely keep on hand right now. Best of all, the flavor rivals any upscale bakery custard tart: sweet, comforting, and laced with the warm scent of pure vanilla and toasted coconut.
The secret behind this pie is density and gravity. As the dish warms, baking mix sinks to form a tender bottom crust, while light coconut shreds float upward to toast against the heat.
The Pantry Ingredients You Need
Simplicity is key here. Because there are so few components, quality matters. Here is your shopping list:
- Baking Mix (1/2 cup): Classic Bisquick is the traditional choice, though you can use any all-purpose baking mix or your own homemade flour-and-leavening blend.
- Granulated Sugar (3/4 cup): Provides just enough sweetness without overpowering the subtle richness of the eggs and milk.
- Large Eggs (4 whole): Eggs give the custard its silky structure and rich golden color. Use room-temperature eggs for the smoothest emulsion.
- Whole Milk (2 cups): Whole milk yields that classic diner-style custard mouthfeel. For an even richer slice, substitute half a cup of milk with heavy cream.
- Flaked Sweetened Coconut (1 cup): Standard sweetened shredded coconut gives you those irresistible caramelized top bits. If you prefer a less sweet dessert, desiccated unsweetened coconut works well too.
- Pure Vanilla Extract (1 teaspoon): Never skip pure vanilla; it rounds out the eggy notes and highlights the sweet milk.
- Unsalted Butter (1 tablespoon, softened or melted): Blended directly into the batter to add tenderness to the self-forming crust. Keep a little extra on hand to grease your pie dish generously.
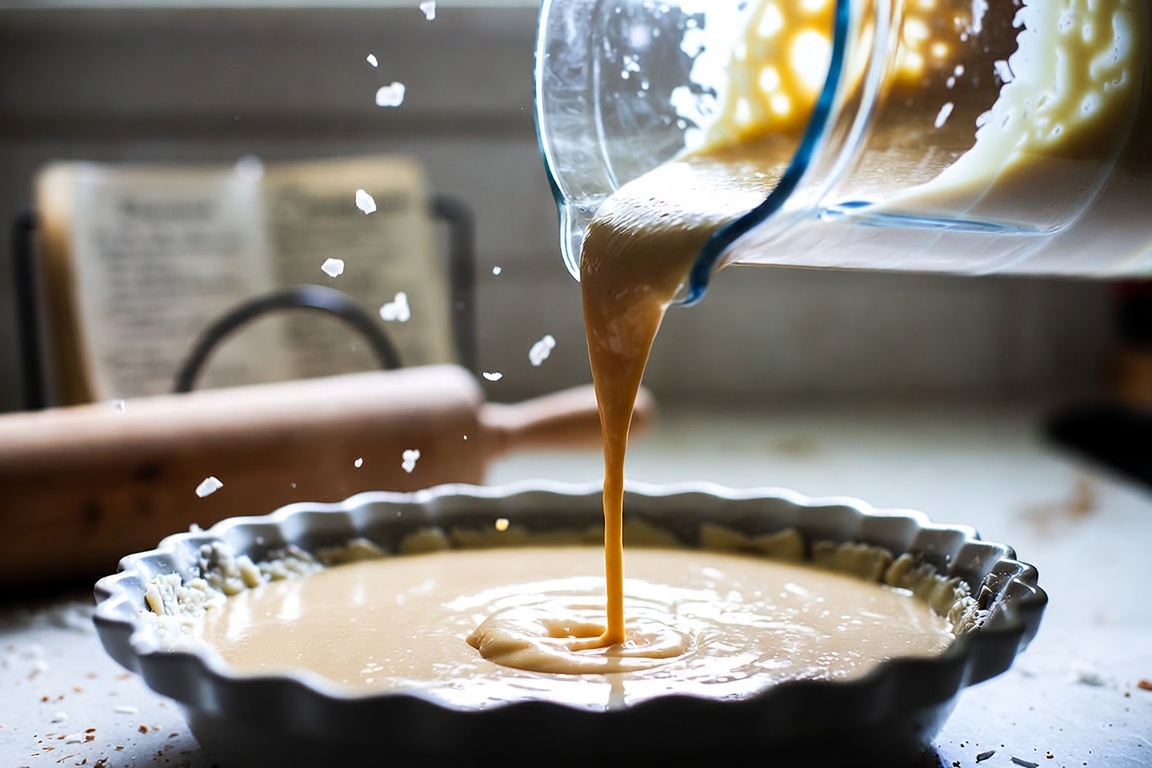
Pouring the thin, blended batter straight into your buttered pie dish—no pre-baked crust required.
Step-by-Step Instructions: Blender to Oven in Five Minutes
Grab your favorite 9-inch ceramic or glass pie plate and preheat your oven to 375°F (190°C). While the original recipes often called for 400°F, dialing back the heat slightly gives the custard a smoother, silkier set without any rubbery edges.
1. Butter the Pie Dish Generously
Rub a generous tablespoon of softened butter all over the interior of your 9-inch pie dish. Make sure you coat the sloped sides right up to the rim. This step keeps the self-forming bottom crust from sticking when you slice.
2. Blend or Whisk the Batter
Add the baking mix, sugar, eggs, whole milk, softened butter, and vanilla extract into a blender jar. Pulse on medium speed for 20 to 30 seconds until the mixture is uniform and frothy. If mixing by hand, beat the eggs and sugar vigorously first, then whisk in the milk, melted butter, and baking mix until completely smooth.
3. Fold in the Coconut
Stir the shredded coconut directly into the batter using a spatula. Do not blend the coconut with the motor running, or you will chop up those lovely long shreds that need to float to the top during baking.
4. Bake Until Just Set
Carefully pour the liquid batter into your prepared pie dish. Transfer it to the center rack of your preheated oven. Bake for 35 to 42 minutes. Keep an eye on the surface during the final ten minutes of baking.
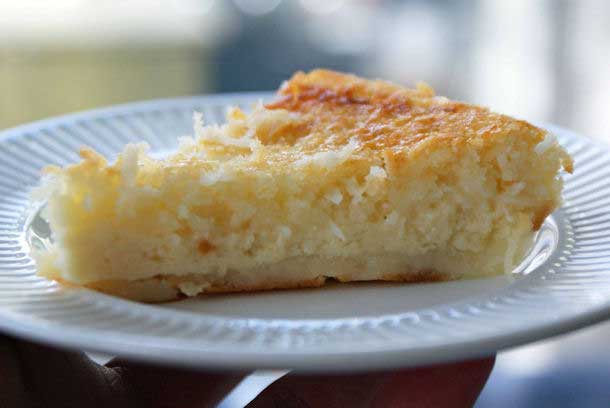
A clean cross-section showing how the custard naturally settles between the soft pastry base and the golden coconut crown.
The Magic of Self-Forming Layers: What Happens in the Oven
Watching this pie bake is like a mini science experiment in your kitchen. When you pour the batter into the pan, it looks like a single thin liquid with coconut shreds drifting throughout. But as thermal currents start moving through the batter, three distinct physical separations occur naturally:
- The Bottom Crust: The heavy wheat flour and shortening compounds in the baking mix sink gently to the bottom of the dish, forming a thin, soft, cake-like pastry layer.
- The Middle Custard: The eggs and dairy form a gentle protein web in the middle, setting into a melt-in-your-mouth custard with a velvet texture.
- The Toasted Coconut Topping: The lightweight, buoyant coconut flakes float straight to the top surface, where direct radiant heat toasts them into a nutty, golden-brown crust.
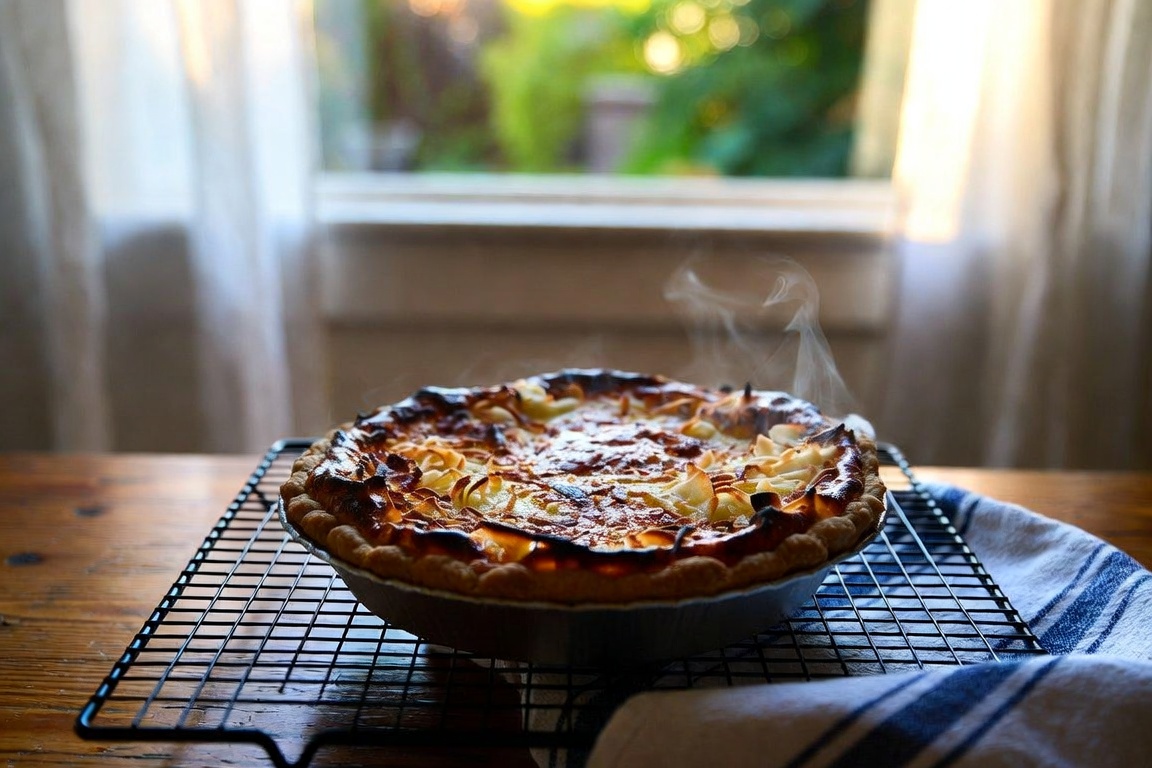
Allow your pie to cool completely on a wire rack so the silky custard center sets to sliceable perfection.
How to Tell When Your Coconut Custard Pie Is Done
Custard pies can be tricky for beginners because they continue to cook from residual heat after leaving the oven. Overbaking leads to curdled eggs and watery separation, while underbaking leaves you with soup.
Look for deeply toasted golden edges and a surface that looks matte rather than wet. Give the pie dish a gentle nudge using an oven mitt. The edges should appear completely firm and set, while the very center (about a two-inch circle) should exhibit a slight, gelatin-like wobble. A clean knife inserted halfway between the edge and the center should come out clean.
Once you reach that stage, pull the pie out immediately and set it onto a wire rack. Let it sit at room temperature for at least an hour. As it cools, that soft center sets firm. For picture-perfect slices, chill the pie in the refrigerator for two hours before taking a knife to it.
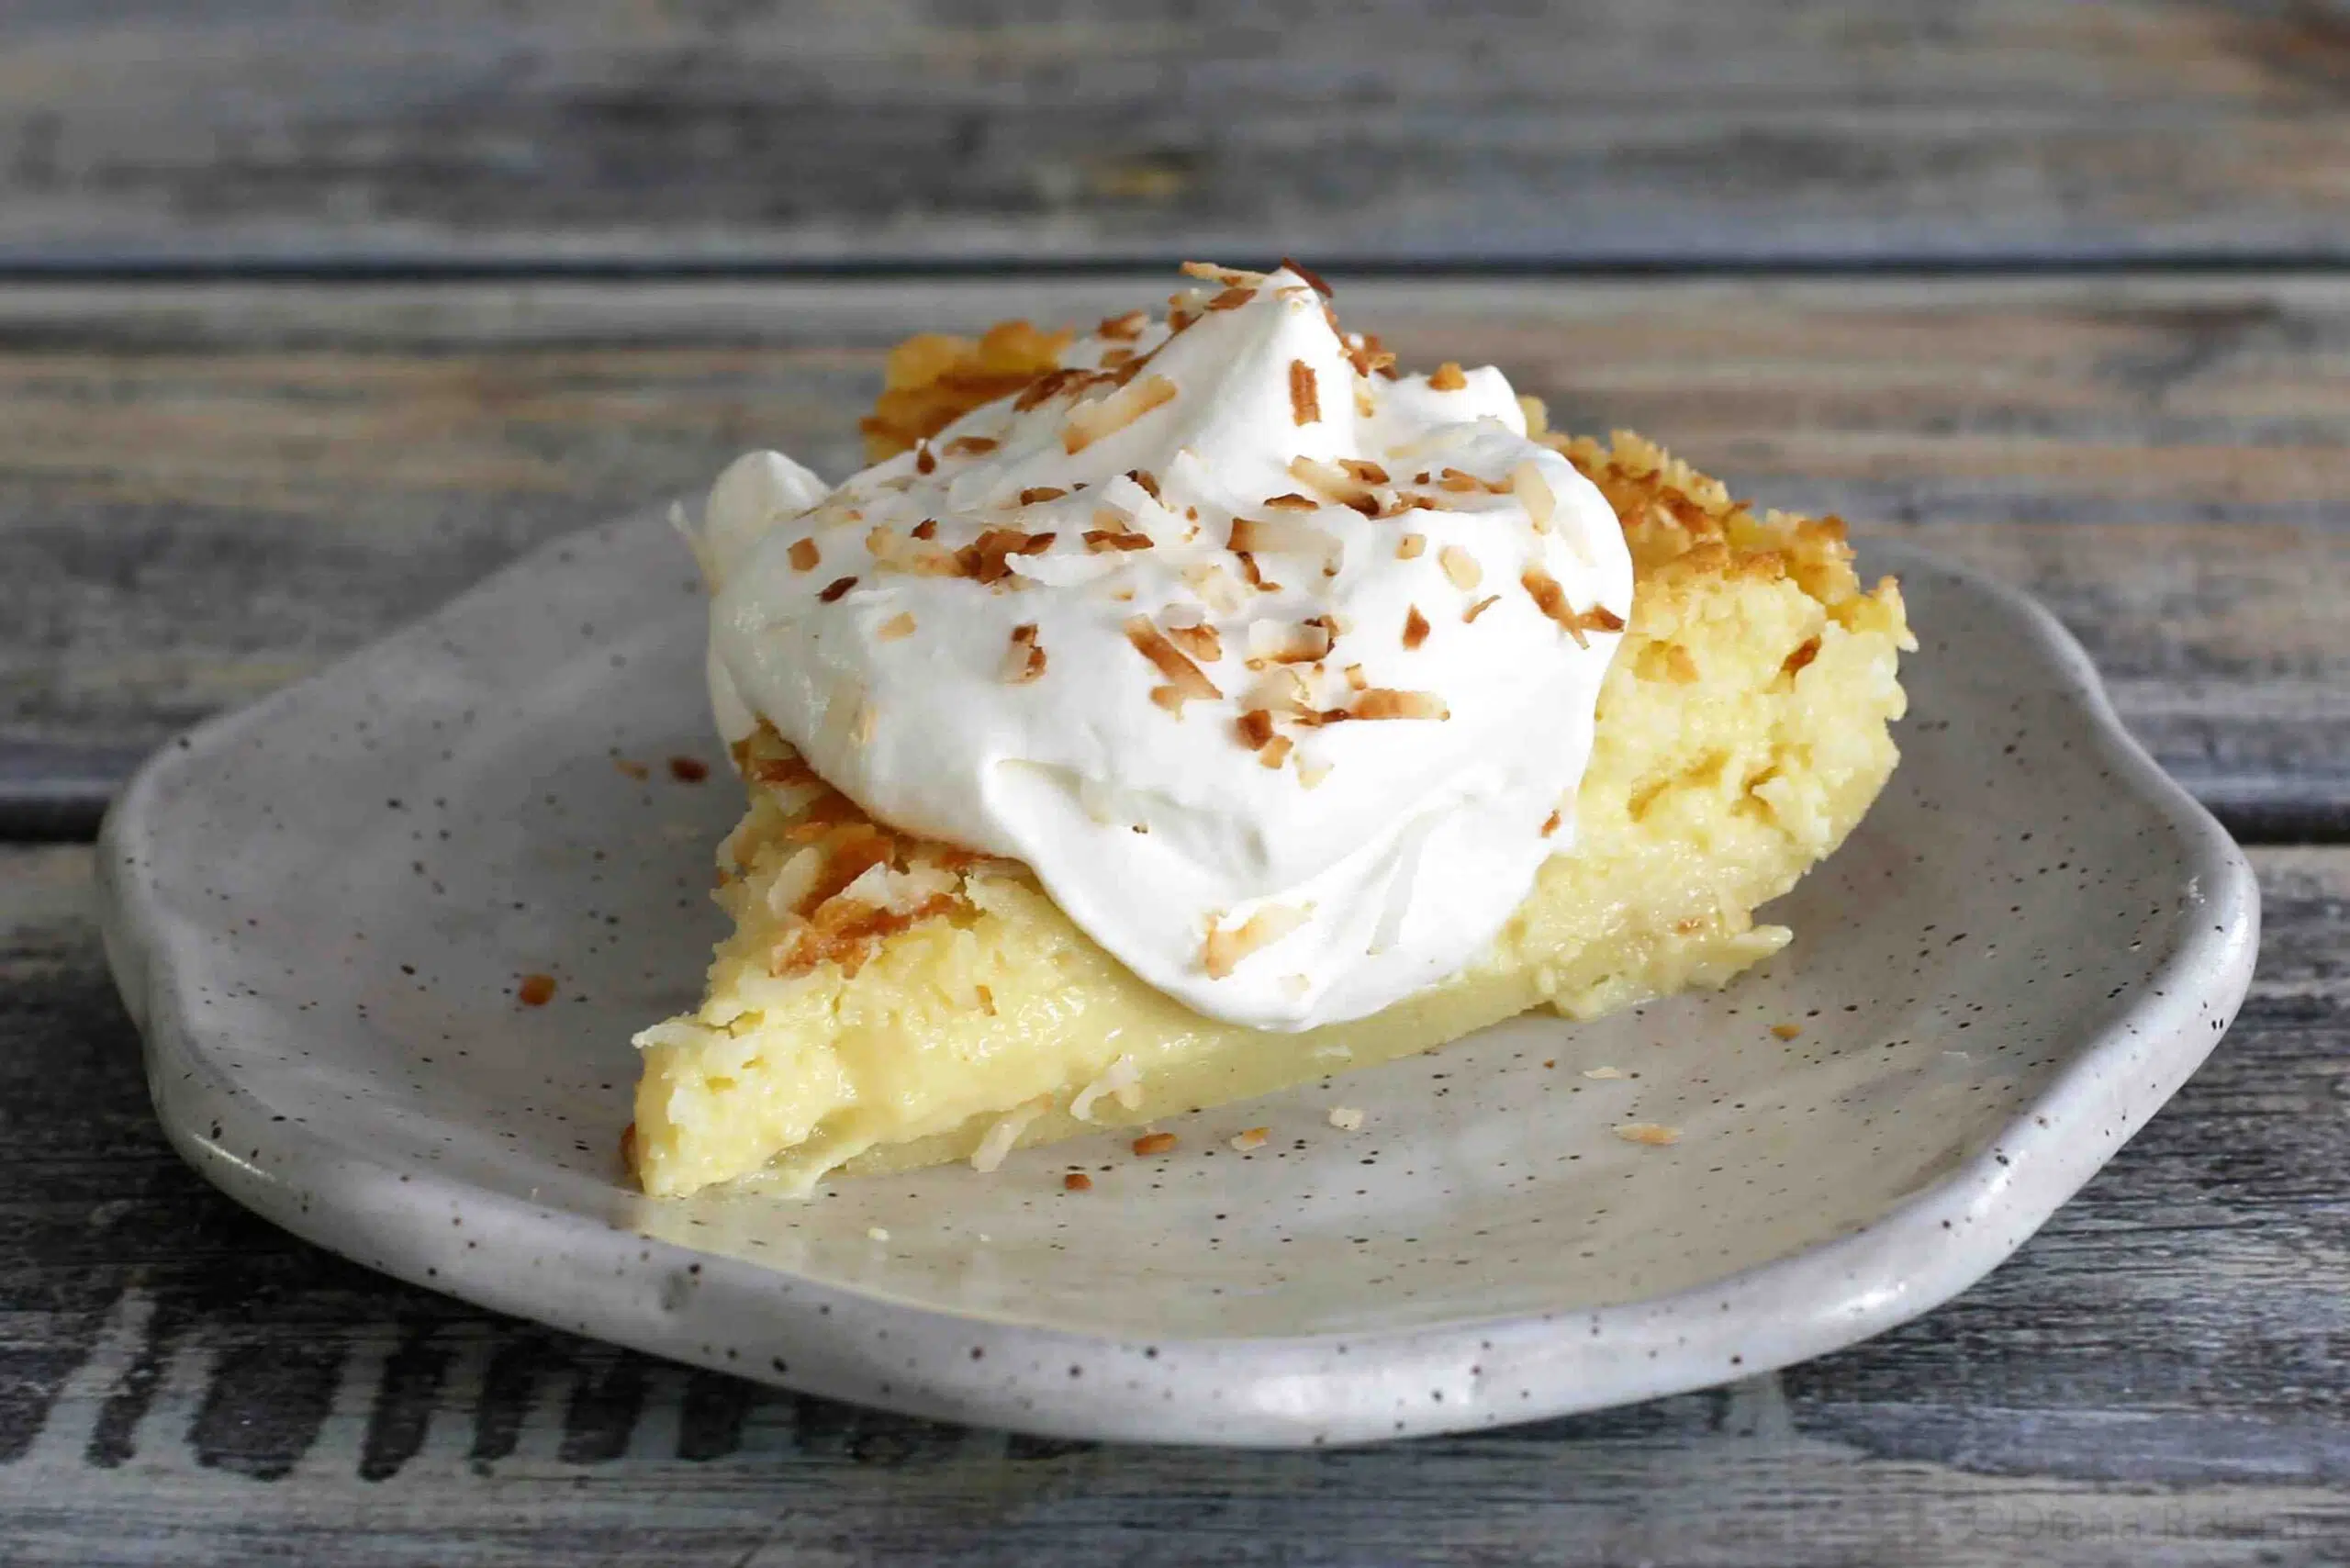
Serve each chilled slice crowned with a generous dollop of whipped cream and a sprinkle of toasted coconut flakes.
Serving Suggestions & Alcohol-Free Entertaining
This pie is versatile enough for casual weeknight suppers or festive holiday dessert buffets. Serve chilled slices straight from the icebox on warm summer afternoons, or offer it slightly warmed alongside a steaming cup of dark roast coffee or spicy cinnamon herbal tea.
Dress up each slice with a generous mountain of fresh homemade whipped cream, beaten with a touch of powdered sugar and vanilla bean paste. For a pop of color, scatter fresh raspberries or sliced strawberries around the plate. The bright acidity of fresh berries cuts cleanly through the richness of the sweet custard.
If you are hosting a weekend brunch or casual dinner party, pair this pie with a sparkling refresher: mix equal parts fresh lime juice, coconut water, and ginger beer over crushed ice with a sprig of fresh mint. It makes a stunning, crowd-pleasing, alcohol-free companion that highlights the tropical notes of the coconut.
Troubleshooting & Baker’s Tips
My coconut is getting too dark before the center sets.
Every oven runs a little differently. If you notice your coconut topping turning dark brown at the 25-minute mark, loosely tent a sheet of aluminum foil over the top of the pie plate. This deflects direct heat while allowing the custard underneath to finish setting.
Can I make this without boxed baking mix?
Yes. Simply whisk together 1/2 cup of all-purpose flour, 1/2 teaspoon of baking powder, and 1/8 teaspoon of fine salt. Rub in 1/2 tablespoon of cold butter with your fingertips until crumbly, then use this scratch mix exactly as written in the recipe.
How should I store leftovers?
Because of the high egg and milk content, never leave this pie out on the counter overnight. Cover the cooled pie pan tightly with beeswax wrap or plastic wrap and store it in the refrigerator for up to four days. It actually tastes even better on day two once the flavors marry together.
A Timeless Family Favorite
Making a showstopping dessert does not require spending hours laminating pastry dough or stressing over soggy bottoms. With this foolproof coconut custard pie recipe, seven simple ingredients and a quick whirl in your blender deliver pure, nostalgic baking comfort. Slice yourself a generous piece, top it with a swirl of cream, and enjoy every bite.