Walk past the kitchen aisle at any modern department store, and you will find shelves overflowing with battery-powered choppers, silicone presses, and single-use plastic contraptions. Most of them break within a year or clutter up dark drawers until a spring cleaning purge. Yet, tucked away in the dusty wire baskets of thrift stores and estate sales sits a modest little utensil that runs circles around all of them: the vintage meatball maker.
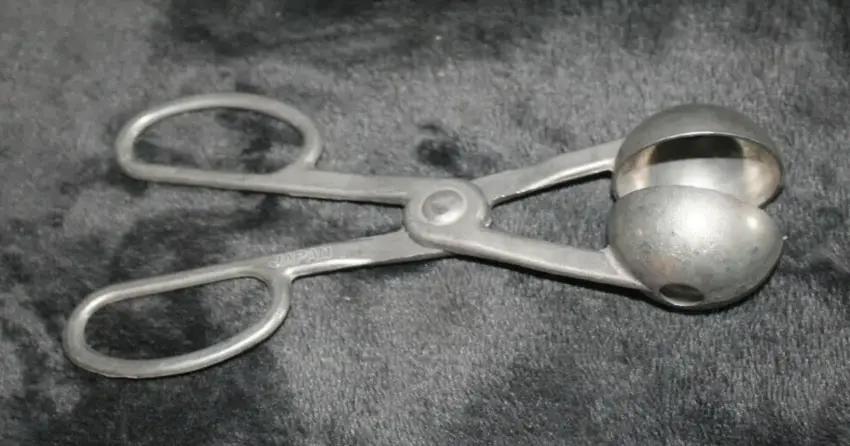
I spotted my first pair behind a stack of mismatched ironstone mugs. Heavy, cool to the touch, and shaped like an odd pair of scissors with hollow spheres on the business end, it looked almost surgical. One gentle squeeze, and the mechanical logic clicked immediately. If you have spent years rolling ground meat between hot palms until your hands feel coated in grease, this simple mid-century find will change your prep routine forever.
The Scissor-Action Meatball Maker: Anatomy of a Mid-Century Workhorse
Most vintage meatball makers found in North American thrift shops hail from the late 1950s through the 1970s. Many feature a simple stamp on the hinge: “JAPAN,” “ITALY,” or occasionally an American housewares mark like Foley or Bromwell. They were built from thick cast aluminum or chrome-plated tinplate, assembled around a central steel pivot pin that never loosens or snaps.
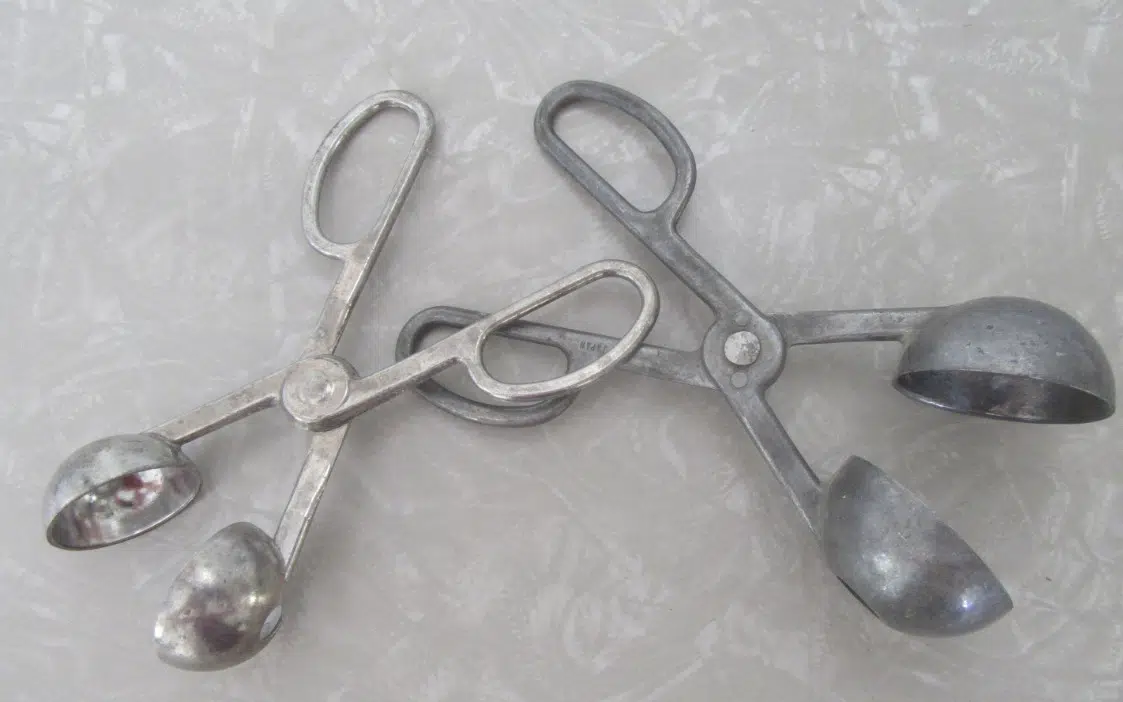
A side-by-side comparison of vintage aluminum scissor-style meatball makers, showing two distinct cup sizes and classic riveted pivot joints.
The design is brilliantly direct. Two opposing half-spheres come together to form an enclosed mold. At the apex and base of each cup, small drainage holes allow excess air, liquids, and squeezed fat to escape. That relief vent is what prevents hydraulic suction, allowing the meat mixture to pack firmly without turning into a mushy clump.
Unlike modern plastic spring scoops that jam the moment ground meat gets cold and firm, an aluminum vintage meatball maker relies entirely on hand leverage. You feel the density of the mixture as the handles close, giving you complete control over how tightly packed each sphere becomes.
The Physics of Even Sizing: Why Consistency Matters in the Skillet
Eyeballing meatballs sounds easy enough until dinner hits the pan. One is the size of a billiard ball, while its neighbor barely matches a marble. By the time the large one cooks through to a safe internal temperature, the smaller pieces have turned rubbery and dry.
Uniformity is not merely about making a plate look tidy; it is about heat transfer. When every meatball shares the exact same diameter and density, they brown at the identical rate, simmer evenly in a rich tomato sauce, and reach doneness simultaneously.
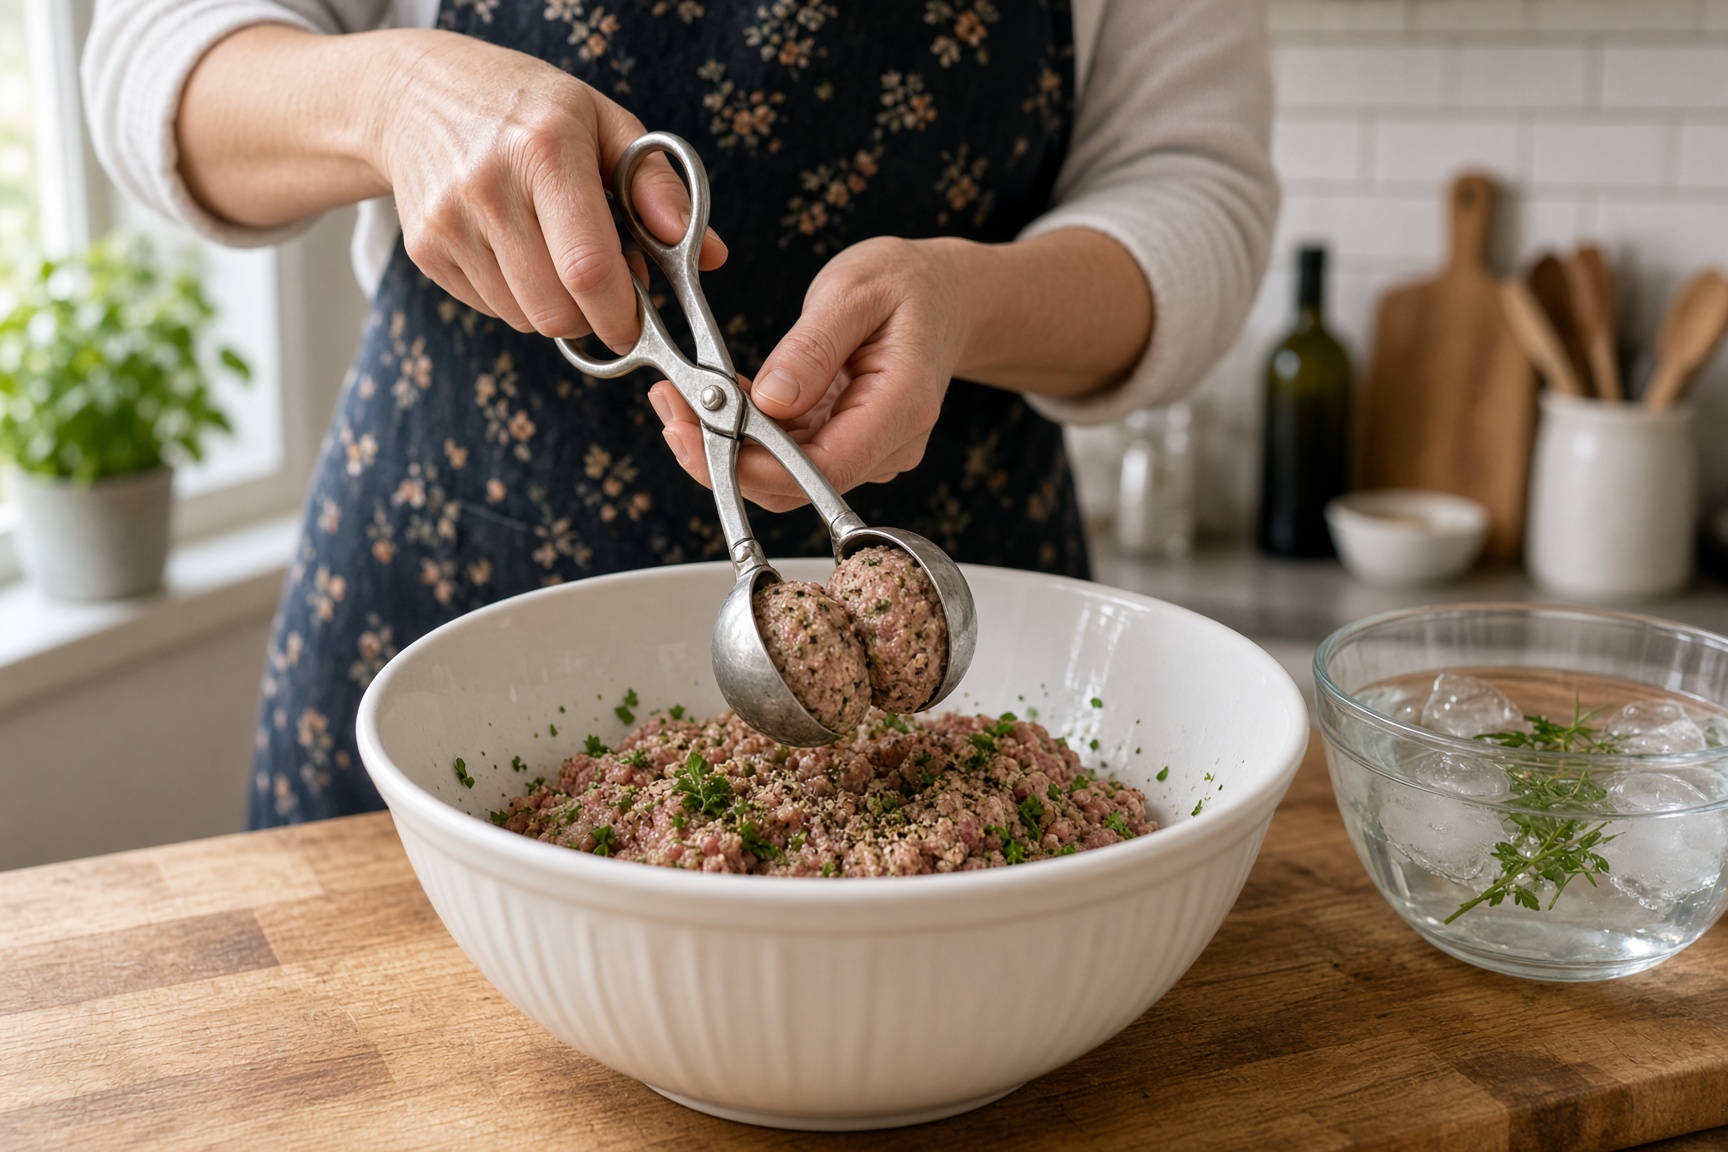
Dipping the vintage baller into cold water before scooping keeps sticky ground meat from clinging to the interior cups.
Beyond cooking physics, there is the simple relief of clean hands. Hand-rolling fifty mini meatballs for a big family batch warms the ground pork or beef with your body heat, melting the delicate fats before they ever touch the pan. Using a cold metal baller keeps the fat solid, which leads to a far juicier bite once browned.
Mastering the Tool: Tips for Clean Release Every Single Time
While the scissor design is intuitive, newcomers often run into one common frustration: meat sticking stubbornly inside the hollow cups. A few small adjustments to your prep station eliminate this problem completely:
- Keep a Bowl of Ice Water Nearby: Dip the metal cups into cold water before every second or third scoop. The thin layer of moisture acts as an immediate natural release agent between the raw proteins and the metal surface.
- Chill Your Meat Mixture: Warm meat is sticky meat. Let your ground blend rest in the refrigerator for at least thirty minutes after mixing in your breadcrumbs, eggs, garlic, and fresh herbs. Cold fat releases from metal with zero resistance.
- The Twist-and-Squeeze Technique: Do not simply clamp down into the meat bowl. Drive the open cups into the mixture, squeeze the scissor handles firmly until the excess pushes out of the escape holes, and give the tool a slight half-turn twist before lifting it out.
- Wipe the Escape Vents: Every ten scoops, run a damp kitchen towel over the exterior vent holes to clear any buildup that might create suction.
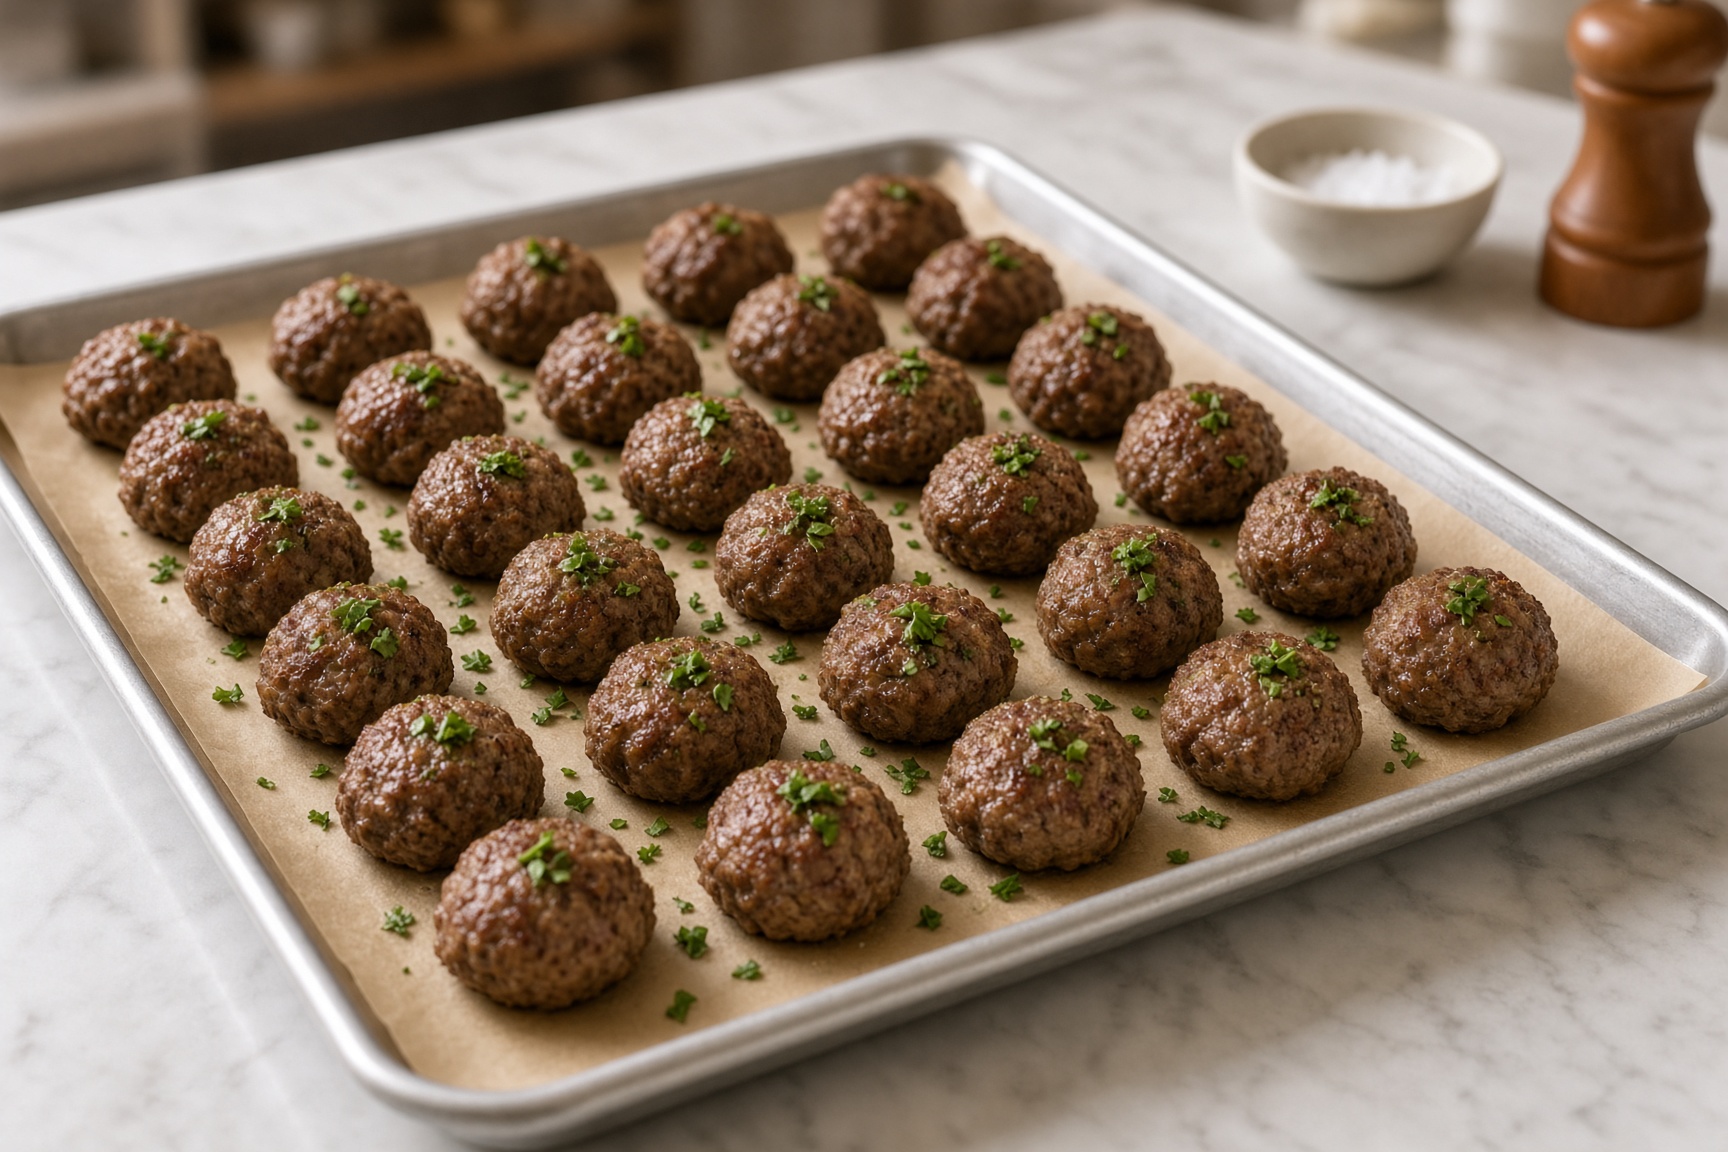
Uniform diameter across the entire batch means every single meatball finishes cooking at the exact same minute.
Beyond Beef and Pork: Surprising Ways to Use a Vintage Baller
Calling this tool a meatball maker actually limits its potential in a busy kitchen. Any savory or sweet mixture that requires uniform portioning works beautifully in this scissor press:
Crispy Homemade Falafel
Traditional falafel molds (the wooden or metal thumb-press *aleb falafel*) can take practice to master without crumbling. The vintage scissor baller compacts soaked, herb-loaded chickpea mixture cleanly, creating rounded falafel patties that fry evenly without falling apart in the oil.

Dense vegetarian mixes like falafel and herbed grain bites hold their shape cleanly in a vintage press.
Stuffed Arancini Rice Bites
If you have leftover risotto, chill it thoroughly. Scoop a half-portion into the bottom cup, press a tiny cube of mozzarella or a dab of savory vegetable filling into the center, add a touch more rice, and clamp shut. You get seamless, bite-sized rice balls ready for breading and crisping.
Chilled Cookie Dough and Energy Bites
Sticky oat-and-date energy bites, no-bake cocoa balls, and chilled butter cookie doughs portion out in seconds. Because the metal handles don’t flex like flimsy plastic spring-loaded ice cream scoops, even thick, nut-heavy doughs shape without straining your wrists.
“A good kitchen tool should do its job effortlessly, wash clean in two minutes, and outlive its owner. That is the quiet genius of mid-century hand tools.”
What to Look for When Thrifting Vintage Kitchen Metal
Estate sales, flea markets, and online shops like Etsy and eBay regularly feature these tools, often priced between three and ten dollars. Because you are buying an item meant for food preparation, keep a discerning eye on condition:
- Check the Hinge Pin: Move the handles back and forth. The pivot should feel smooth and secure, with negligible wobble. If the rivet is severely loose, the cups will misalign when closing.
- Inspect for Deep Metal Pitting: Surface tarnish on cast aluminum is completely harmless and buffs out easily, but steer clear of pieces with rough, dark, crumbly pits inside the food cups where moisture has sat for decades.
- Spot the Material: Cast aluminum feels light yet rigid and has a soft matte grey sheen. Chrome-plated steel will be heavier and shinier, but check carefully along the cup rims for peeling chrome, which should never touch food.

Hand-washing vintage cast aluminum in mild dish soap protects the patina from the dulling heat of modern dishwashers.
Care and Cleaning: Keeping Mid-Century Utensils Safe
The single biggest mistake folks make with vintage kitchenware is tossing it straight into the modern dishwasher. Harsh dishwasher detergents contain aggressive alkaline compounds that react with bare aluminum, turning it into a powdery, dull charcoal-black mess that ruins the finish.
Treat your vintage meatball maker with simple care. Wash it right after use in warm water with a mild citrus or unscented liquid dish soap and a non-scratch sponge. If stubborn protein residue dries inside the vents, soak the tool in warm water for five minutes rather than gouging the metal with steel wool.
Dry it thoroughly with a clean cotton tea towel before sliding it into your drawer. Given this basic care, a vintage meatball maker you rescued from a junk box will easily serve your kitchen for another fifty years.